
The Ultimate Guide to Field Butchering: How to Protect Your Harvest from Mountain to Freezer
Field Butchery Guide
Venture Field Report
The Ultimate Guide to Field Butchering
How to Protect Your Harvest from Mountain to Freezer
Field preparation is the difference between clean, high-quality meat and unnecessary waste. In this practical session filmed at Venture Hunting HQ, Ayden and James from Twin Elements walk through the exact field butchering setup they rely on for consistent results in the bush.
This is not theory. It is a breakdown of their proven "grab-and-go" kill kit, a clear explanation of breathable game bags, and a step-by-step guide to the gutless method. If you are serious about harvesting clean, ethical protein, this is essential knowledge.

In This Report
Why Field Meat Care Matters
The work starts the moment the animal hits the ground. What happens in the first 30 minutes to two hours determines the quality of every meal you will prepare from that harvest.
Heat, moisture and bacteria are your biggest enemies. Poor preparation can lead to spoiled meat, contamination from hair and dirt, or unnecessary trimming later at home. A clean, organised system protects your harvest and respects the animal.
Preparation is not extra effort. It is the standard.
Building a Dedicated Kill Kit
A proper kill kit lives in your pack full-time. It is not something you piece together after the shot. When adrenaline is high and light is fading, you need a system you can execute on autopilot.
Core Essentials
Disposable or reusable gloves: Nitrile gloves are preferred over latex for durability and puncture resistance. Pack at least 3-4 pairs.
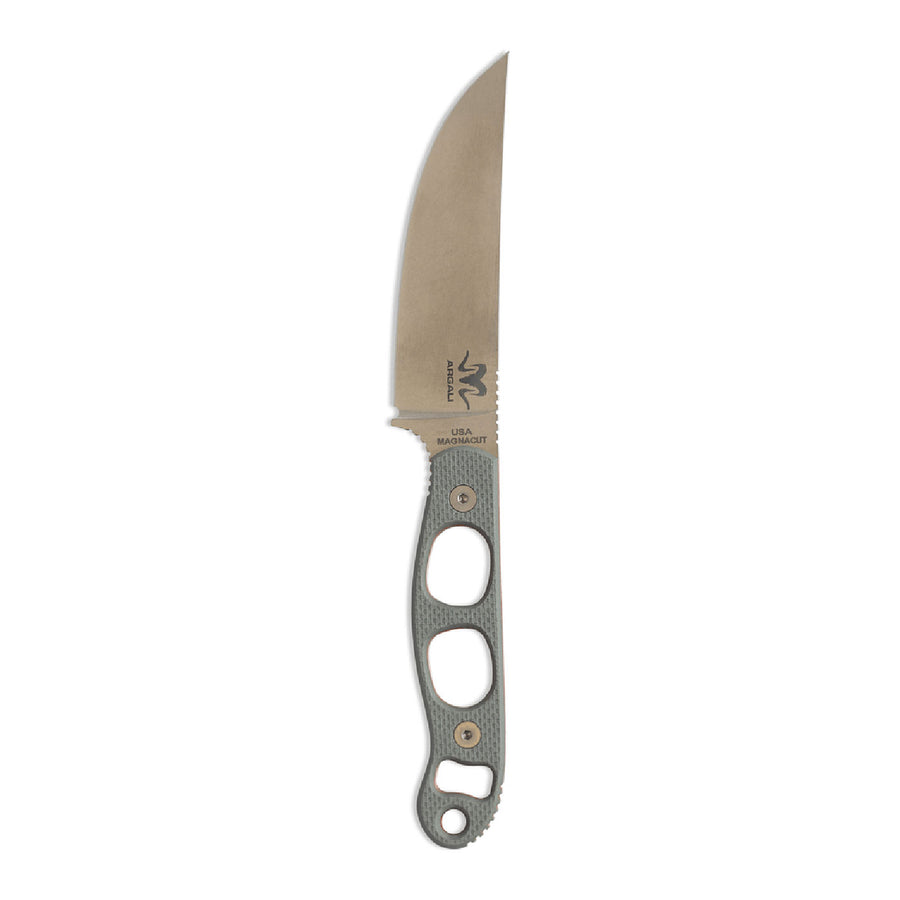
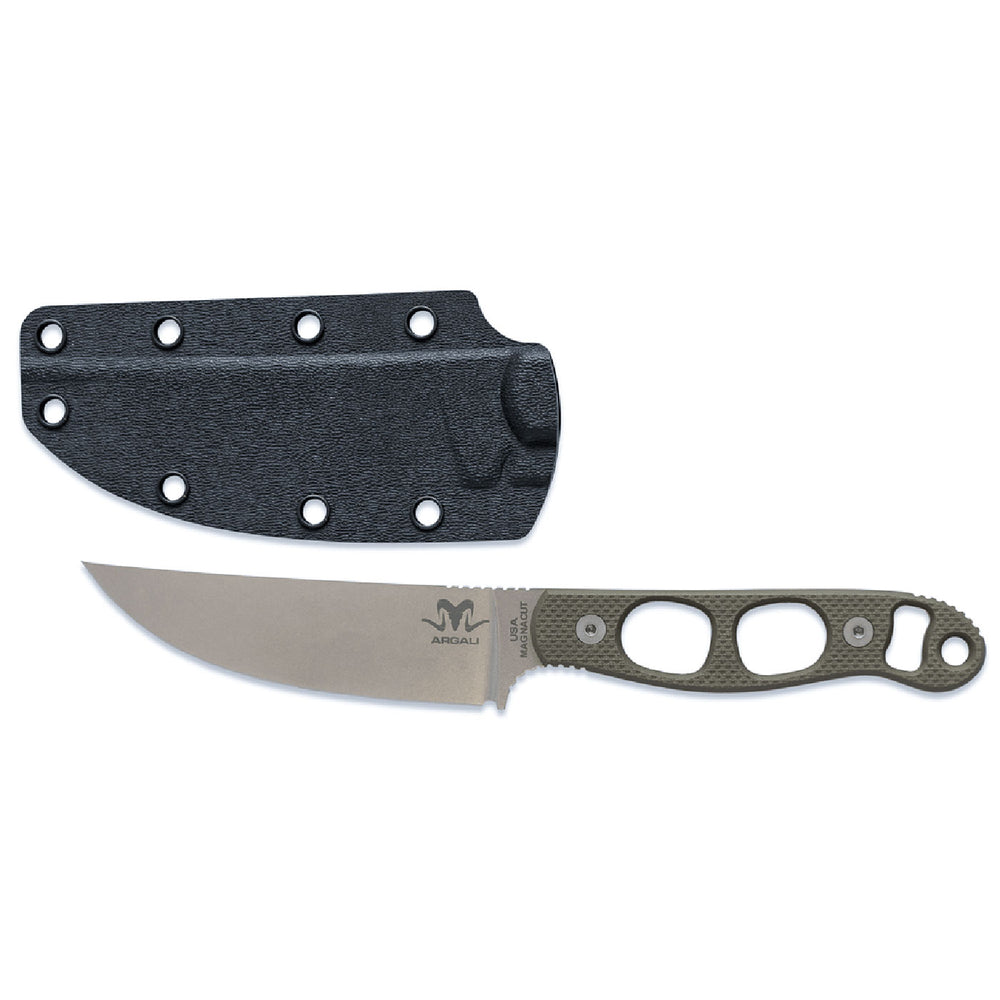
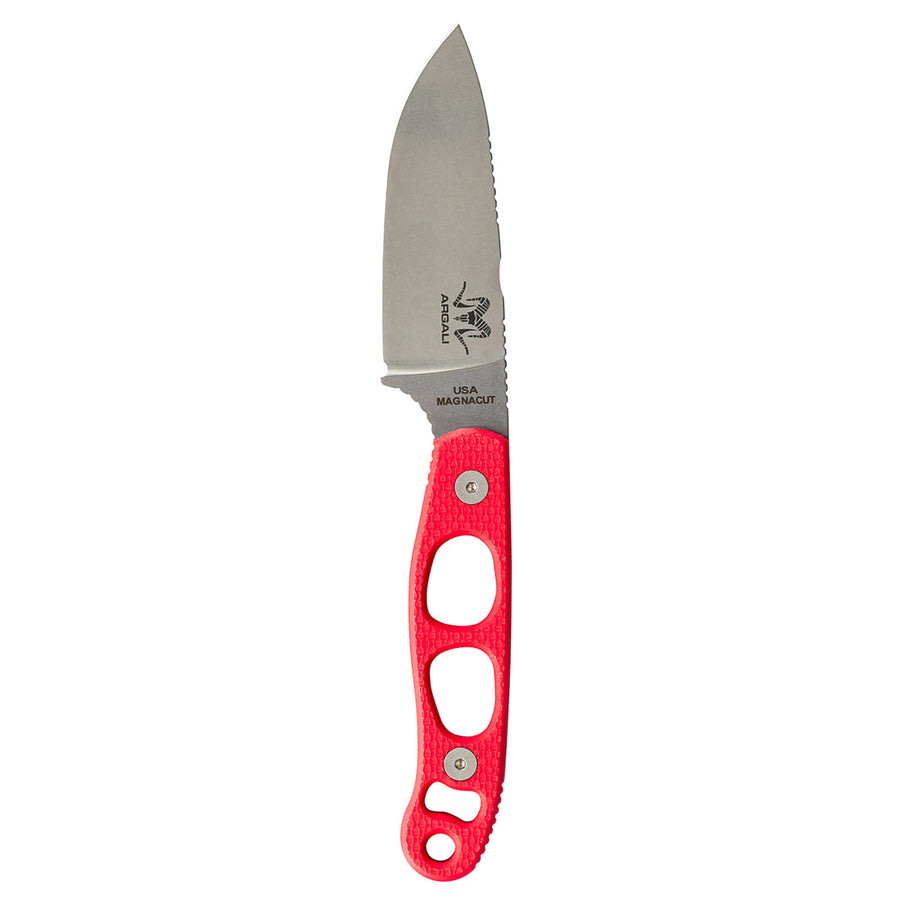
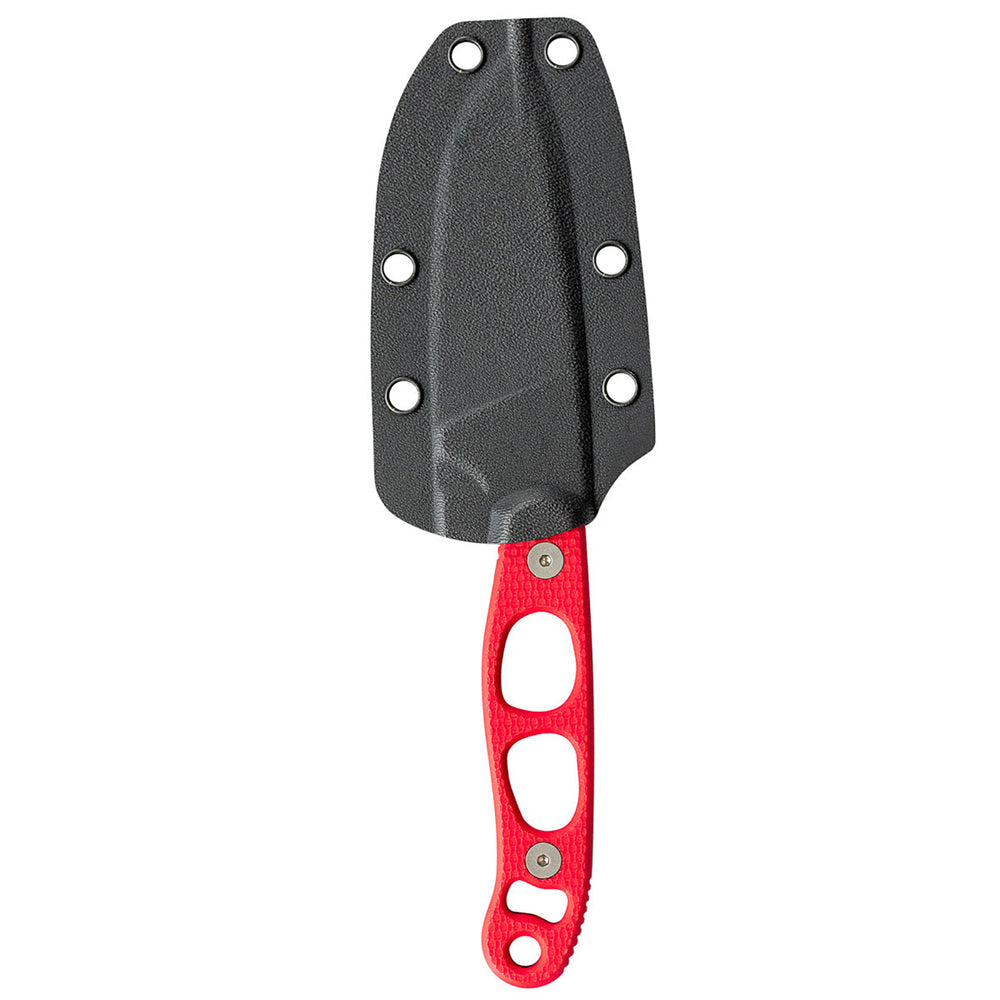
Quality fixed blade knife: A 3.5 to 4-inch blade with a drop point or trailing point design offers the best control for skinning and boning.
Sharpener or spare blade system: A dull knife is dangerous and inefficient. Carry a compact diamond sharpener, ceramic rod, or replaceable blade system like a Havalon.

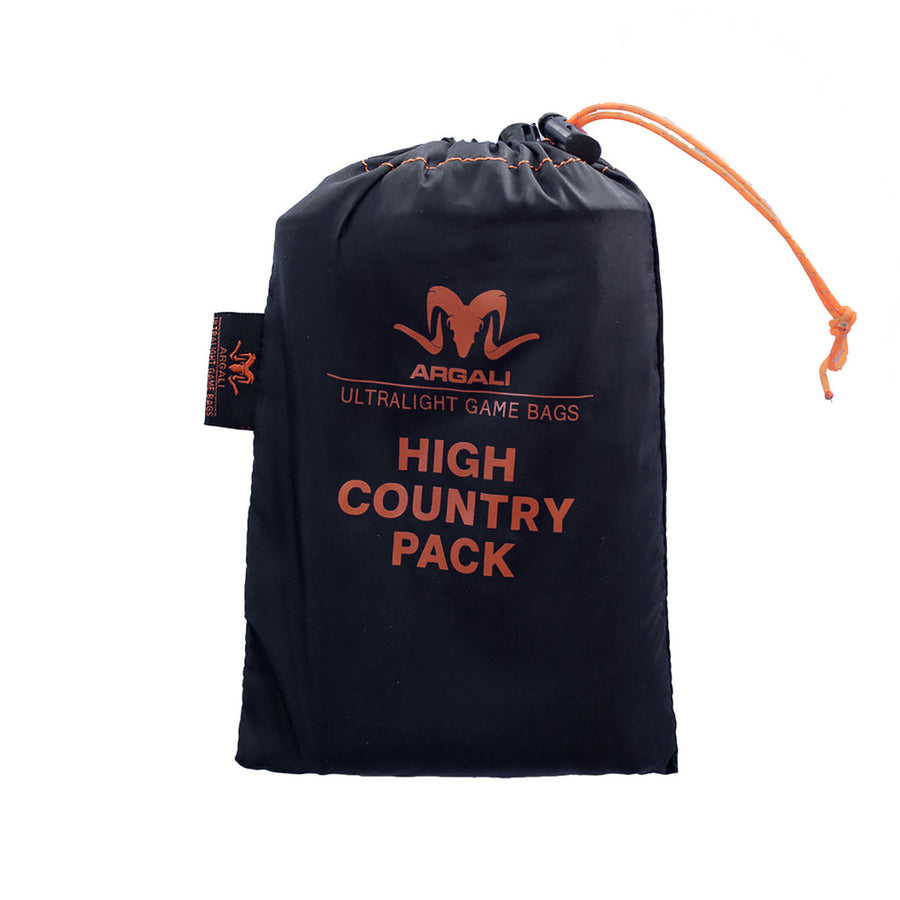
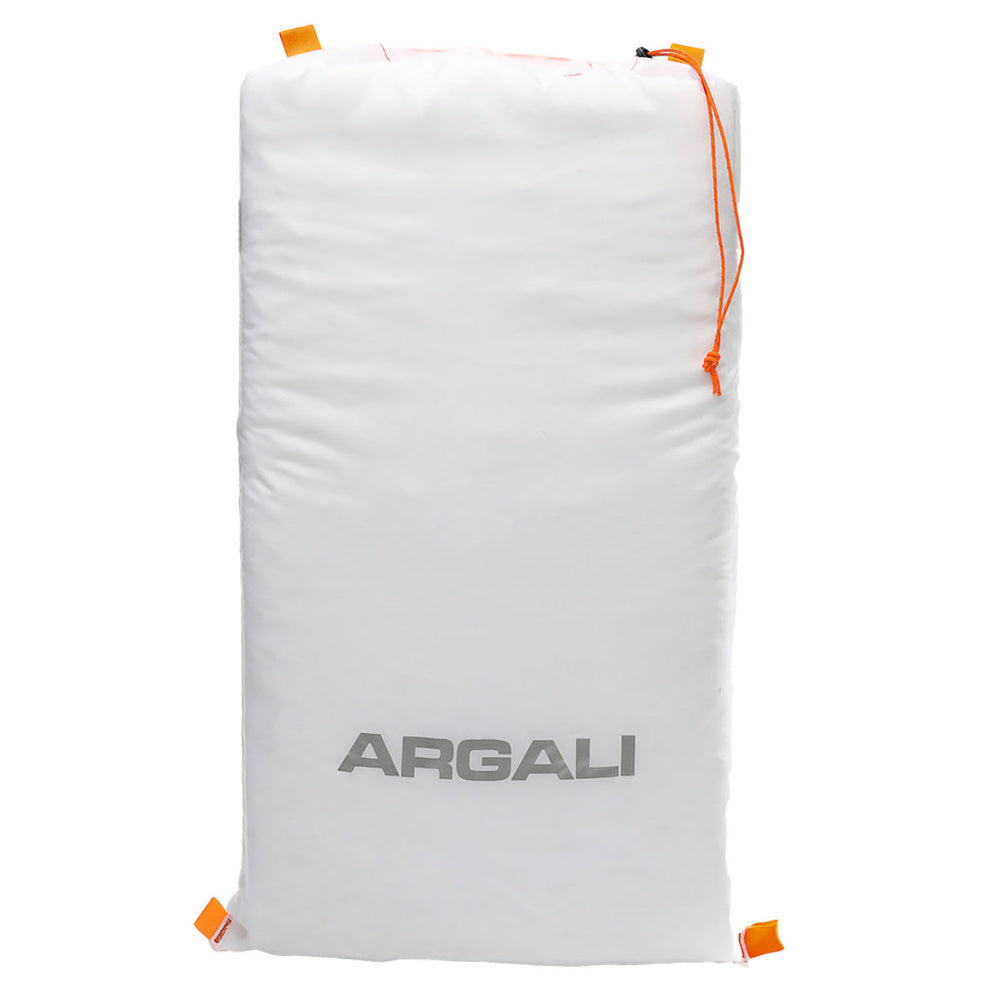
Breathable game bags (multiple sizes): Synthetic mesh or cotton-blend bags in quarter, shoulder, and backstrap sizes. Bring more than you think you need.
Paracord (10-15 metres): Essential for hanging quarters, securing bags, and creating a gambrel if needed. 550 paracord is the standard.
Tarp or ground sheet (lightweight, 2m x 2m minimum): Creates a clean work surface and reduces contamination from soil, leaf litter, and moisture. A bright colour makes it easier to spot dropped tools or small cuts of meat.
Keeping everything in one dedicated dry bag or roll pouch ensures you are never scrambling when it counts. Label it clearly and store it in an accessible part of your pack.
Kill Kit Essentials
Game Bags Explained
Breathable game bags are critical for proper cooling and meat preservation. They are not optional. Plastic traps moisture and heat, creating a perfect environment for bacterial growth and spoilage. Even a heavy-duty garbage bag will cause meat to "sweat", leading to slime, off-flavours, and potential contamination within hours.
Breathable synthetic or cotton-blend bags allow airflow while protecting meat from flies and insects, dirt, dust, hair contamination, and direct sunlight.
Choosing the Right Bags
Material: Synthetic mesh bags are lighter and dry faster than cotton. Cotton is more durable and reusable but takes longer to dry. Both work, choose based on your climate.
Size: Use appropriately sized bags for each cut. Overstuffed bags restrict airflow and create pressure points that can bruise meat. For a deer-sized animal, carry at least 6 bags. For larger game like sambar or red stag, bring 8-10.
Closure: Drawstring closures are faster and more secure than open-top designs. Ensure the cord locks are functional before heading out.
Recommended Game Bags
Extra Tools for Serious Meat Missions
For larger animals or longer pack-outs, a few additional tools make a major difference:
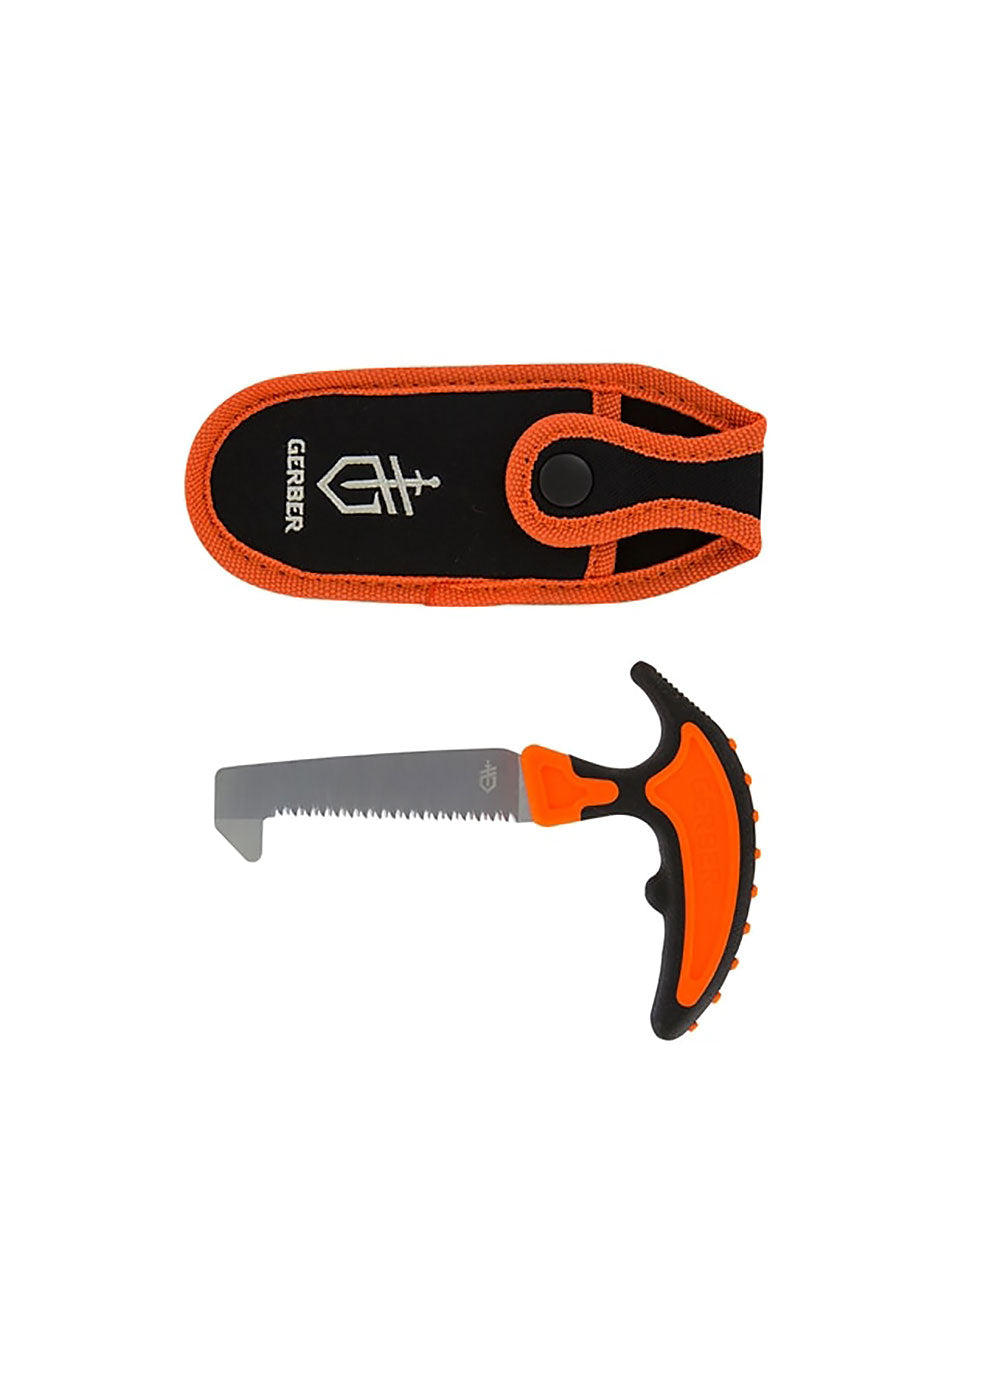
Compact bone saw: For splitting the pelvis on larger animals or cutting through the sternum if needed. A folding pruning saw works well and weighs under 200g.
Wet wipes for hygiene: For cleaning hands between stages, wiping down blades, and removing blood or debris before bagging meat.
Extra cordage: You can never have too much paracord in the field.

Extra Processing Tools
Cleanliness & Contamination Prevention
Hair, dirt and bacteria are constant risks. A single strand of hair on a backstrap can carry bacteria deep into the meat. Soil contact can introduce pathogens that compromise your harvest.
Work methodically. Slow is smooth, smooth is fast.
Best Practices: Keep meat off the ground by using your tarp or the clean hide. Wipe your blade frequently. Bag quarters immediately once they are free. Avoid puncturing the stomach or intestines. Wash hands and gloves between stages, and work from clean to dirty (start with backstraps, finish with areas near the gut cavity).
The Gutless Method Explained
The gutless method allows you to quarter an animal and remove all usable meat without opening the body cavity. It reduces contamination risk, saves time, and is ideal for remote pack-outs where you cannot transport the entire carcass.
Why Use the Gutless Method?
Reduced contamination: The stomach and intestines remain sealed, eliminating the risk of puncturing the gut.
Faster cooling: Quarters are separated and bagged quickly, allowing heat to escape.
Lighter pack weight: You leave the head, hide, and organs in the field, carrying only clean, usable meat.
Easier in difficult terrain: No need to roll or reposition a heavy carcass multiple times.

Step-By-Step Quartering Process
Step 1: Position the animal on its side. Choose the uphill side if on a slope for better leverage. Extend the legs away from the body.
Step 2: Skin along the spine and peel hide downward. Make your initial cut from the base of the neck to the tail, staying tight to the spine.
Step 3: Remove the front shoulder. Locate the seam between the shoulder blade and ribcage. Slide your knife along the ribs to separate the shoulder.
Step 4: Remove the hind quarter. Locate the ball-and-socket joint where the femur meets the pelvis. Cut around the joint and apply pressure to pop it free.
Step 5: Extract the backstrap and neck meat. Insert your knife at the base of the spine and cut along the vertebrae, following the natural seam.
Step 6: Flip and repeat on the other side. Roll the carcass onto the cleaned side and repeat the process. You walk away with clean meat and leave the rest for scavengers.
Packing Meat for the Hike Out
Once quartered, your priority shifts to cooling and transport. Place each cut directly into breathable bags. Do not stack multiple cuts in one bag unless absolutely necessary, as this traps heat.
Squeeze out as much air as possible before cinching the drawstring. This reduces the bag's bulk and improves airflow.
Pack Loading Strategy
Distribute weight evenly. Place the heaviest quarter closest to your back and centred between your shoulder blades. Avoid stacking warm meat tightly together, use gear to maintain airflow if possible.

How to Hang and Cool Meat Properly
Cooling is the priority. The faster you can drop the internal temperature, the longer it will last and the better it will taste. Hang quarters in the shade with at least 15-20cm space between bags for airflow.
Ensure meat is at least 1.5 metres off the ground to deter scavengers. In fly-prone areas, hang meat in the breeziest spot available.
Temperature Guidelines
Below 5°C: Ideal. Meat can hang safely for 12-24 hours or longer, allowing for the ageing process to begin.
5-15°C: Acceptable for short-term hanging (4-8 hours). Monitor closely for any off smells.
Above 15°C: Do not hang. Get the meat into refrigeration or an ice-filled cooler as quickly as possible. Bacterial growth accelerates rapidly in this range.
Field preparation is not about carrying more gear. It is about carrying the right gear and using it correctly. When you have a system and stick to it every time, you work faster, cleaner, and with better outcomes. Clean meat. Less waste. Better results at home.
Field Photos
A closer look at the equipment, techniques and results from a successful field butchering mission.


Ready for the Mountain?
Ensure your next harvest is protected with the highest quality gear. From knives to breathable game bags, we have the essentials for your dedicated kill kit.

Leave a comment